I recently was asked to convert an app running on Weblogic to a container running on Azure. As a base app, we used a war file based on Hawt.io.
And as a base container image, we chose to use Tomee , which is a Tomcat container with EE capabilities. Let’s start building our dockerfile.
FROM tomee:8-jre-7.0.4-webprofileNext, we need to indicate the CATALINA_HOME directory. This is the top directory we will copy all relevant files to.
ENV CATALINA_HOME=/usr/local/tomeeWe will start by copying a tomcat-users.xml and a context.xml file to the correct directories.
COPY tomcat-users.xml $CATALINA_HOME/conf/tomcat-users.xml
COPY context.xml $CATALINA_HOME/webapps/manager/META-INF/context.xml
The tomcat-users.xml file indicates which users will have access to our app and to the management gui of our app. It looks like this:
<?xml version='1.0' encoding='utf-8'?>
<tomcat-users xmlns="http://tomcat.apache.org/xml"
              xmlns:xsi="http://www.w3.org/2001/XMLSchema-instance"
              xsi:schemaLocation="http://tomcat.apache.org/xml tomcat-users.xsd"
              version="1.0">
  <role rolename="tomcat"/>
  <role rolename="admin-gui"/>
  <role rolename="manager-gui"/>
  <role rolename="manager"/>
  <role rolename="manager-script"/>
  <role rolename="admin"/>
  <user username="tomcatadmin" password="azerty" roles="tomcat,manager-gui,admin,admin-gui"/>
</tomcat-users>
The context.xml file indicates as well from which source you can access the Tomcat server. For ease of use we will allow everyone.
<Context antiResourceLocking="false" privileged="false" >
  <!--<Valve className="org.apache.catalina.valves.RemoteAddrValve"
         allow="127\.\d+\.\d+\.\d+|::1|0:0:0:0:0:0:0:1|123.123.123.123" />-->
</Context>
The war file we wanted to deploy also needed a couple of jar files, so they were added as well in the dockerfile.
COPY install-tomcatplugins/apache-log4j-2.10.0-bin.zip /tmp/log4j-tomcat.zip
RUN \
    unzip /tmp/log4j-tomcat.zip -d /tmp/log4j-tomcat && \
    cp -R /tmp/log4j-tomcat/apache-log4j-2.10.0-bin/log4j-web-2.10.0.jar $CATALINA_HOME/lib/ && \
    cp -R /tmp/log4j-tomcat/apache-log4j-2.10.0-bin/log4j-1.2-api-2.10.0.jar $CATALINA_HOME/lib/ && \
    cp -R /tmp/log4j-tomcat/apache-log4j-2.10.0-bin/log4j-api-2.10.0.jar $CATALINA_HOME/lib/ && \
    cp -R /tmp/log4j-tomcat/apache-log4j-2.10.0-bin/log4j-core-2.10.0.jar $CATALINA_HOME/lib/
Next we started copying the actual app.
USER root
COPY install-data-app/ /opt/install-data

RUN mkdir -p $CATALINA_HOME/apps
RUN \
    cp /opt/install-data/app/the_app.ear $CATALINA_HOME/apps/ && \
    cp /opt/install-data/app/SHawtio.war $CATALINA_HOME/webapps/
Last step in the dockerfile is expose a port and run catalina.
EXPOSE 8080
CMD ["catalina.sh", "run"]
With this docker file now done, we can build and run our docker container locally.
docker build -t the-app .
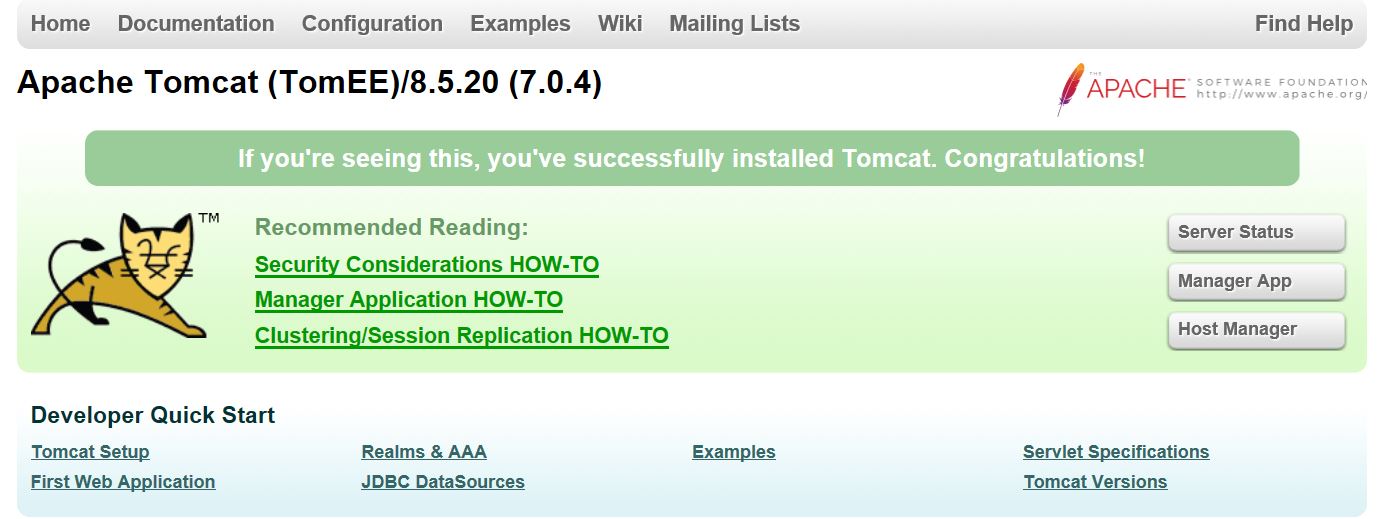
docker run -it -p 8080:8080 --name the-app the-app-testYou can now connect to this running container on port 8080. You can connect with the tomcatadmin user that’s in the tomcat-users file. This will give you the Tomcat admin page.
You can click the ‘Manager App’ button. This will show you the apps running on your Tomcat server.
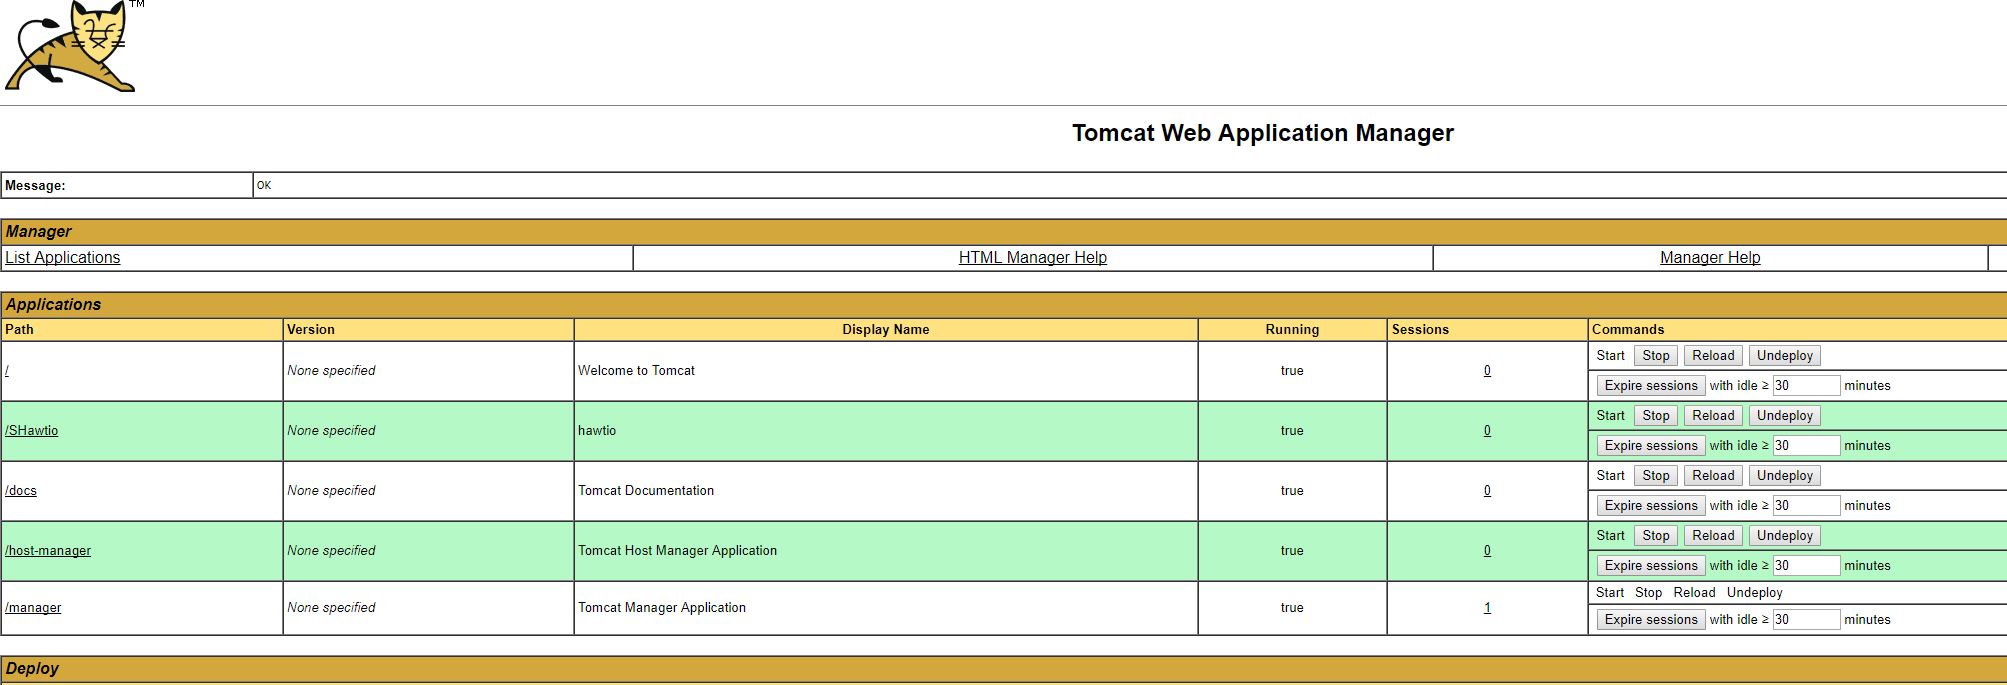
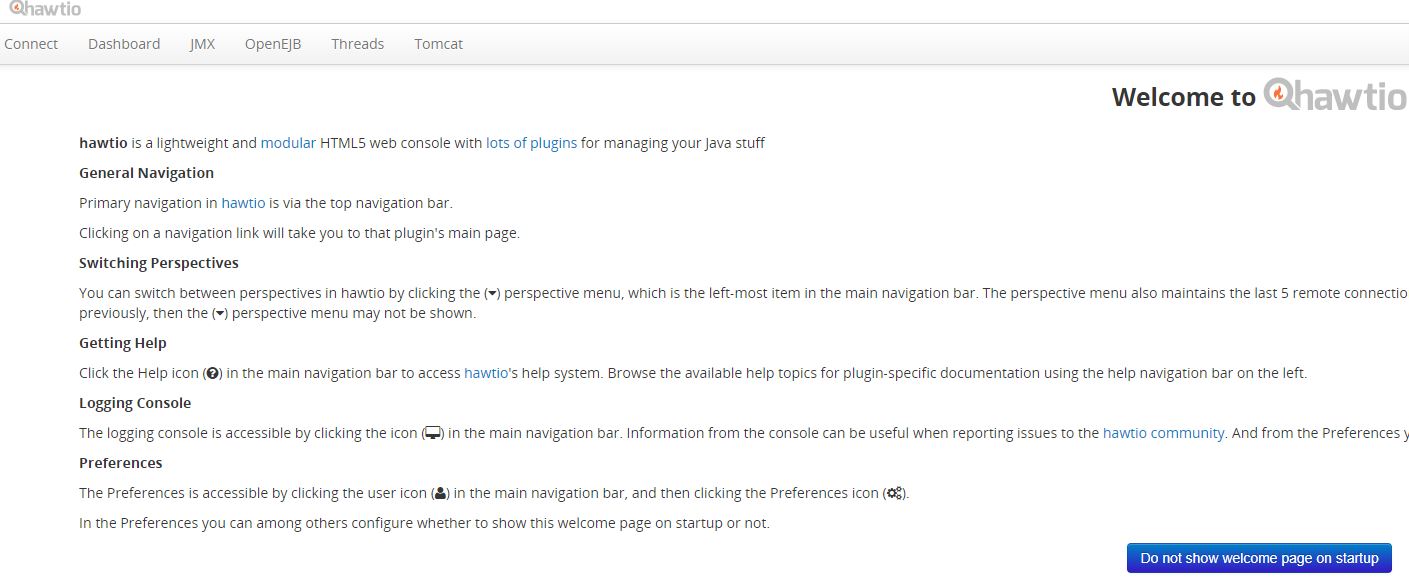
You can click the link of the SHawtio app. To get to the index.html, we added this to our link. This now shows the hawt.io start page.
Now that we have our container running locally, we can now push it up to Azure. First, we will try and run it as a Azure Container Image. In a next blog post, we will run it in Web apps on containers.
To begin, login to your azure account and create a new resource group.
Login-AzureRmAccount

New-AzureRmResourceGroup -Name Tomcat_Poc -Location 'West Europe'
Next, create an Azure Container Registry and get the credentials.
$registryName = "TomcatPoCRegistry"
$registry = New-AzureRMContainerRegistry -ResourceGroupName "Tomcat_Poc" -Name $registryName -EnableAdminUser -Sku Basic

$creds = Get-AzureRmContainerRegistryCredential -Registry $registry
You can now log in to this registry and get the name/url of the newly created registry. Copy this name, you will need it in the next steps.
docker login $registry.LoginServer -u $creds.Username -p $creds.Password

Get-AzureRmContainerRegistry | Select Loginserver
We can now tag our docker image and push it to the newly created registry.
docker tag the-app-test tomcatpocregistry.azurecr.io/the-app-test:v1

docker push tomcatpocregistry.azurecr.io/the-app-test:v1
We can now create an Azure Container Instance. Since this needs a PSCredential, we need to convert our registrycredentials first.
$secpasswd = ConvertTo-SecureString $creds.Password -AsPlainText -Force
$mycred = New-Object System.Management.Automation.PSCredential ("TomcatPocRegistry", $secpasswd)


New-AzureRmContainerGroup -ResourceGroupName Tomcat_Poc -Name theappcontainer -Image tomcatpocregistry.azurecr.io/the-app-test:v1 -OsType Linux -IpAddressType Public -RegistryCredential $mycred -Port 8080
This will output info on your newly created Azure Container Instance. After a while it will be in a ‘Succeeded’ ProvisioningState. You can check its’ state with the following command.
Get-AzureRmContainerGroup -ResourceGroupName Tomcat_Poc -Name theappcontainerThis will also give you the public IP address at which your container is running. Just as we did with localhost, we can browse to this IP-address, add 8080 as port number and watch the apps on the Tomcat instance.
In a next post, I will push this container in Web Apps on containers.